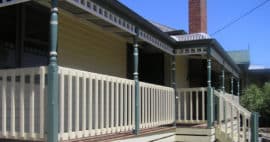
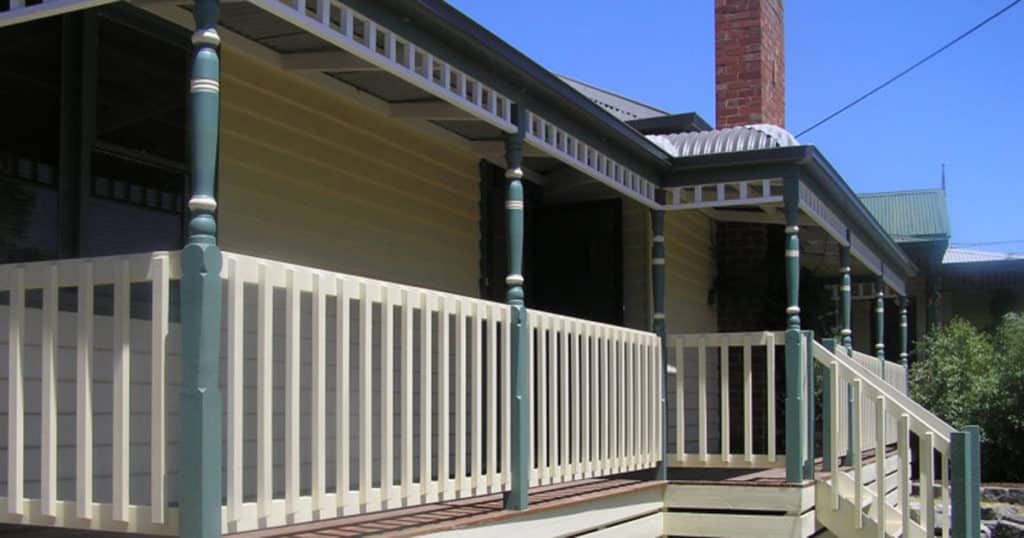
Adding friezes and balustrading to your verandah enhances your deck space, and gives it a polished finish. While reasonably straightforward to assemble and install, read these step-by-step instructions to learn how to measure your space to determine how many slats to order and where to place motif slats in your frieze or balluster panel.
- On the bottom rail, mark the centre. Note that the rail may be cut longer than the required post spacing. Ignore the extra. Standard slat spacing is at 150mm centres. Divide the length of the post spacing (not the actual length of the rail) by 150. For example:
2700 / 150 = 18
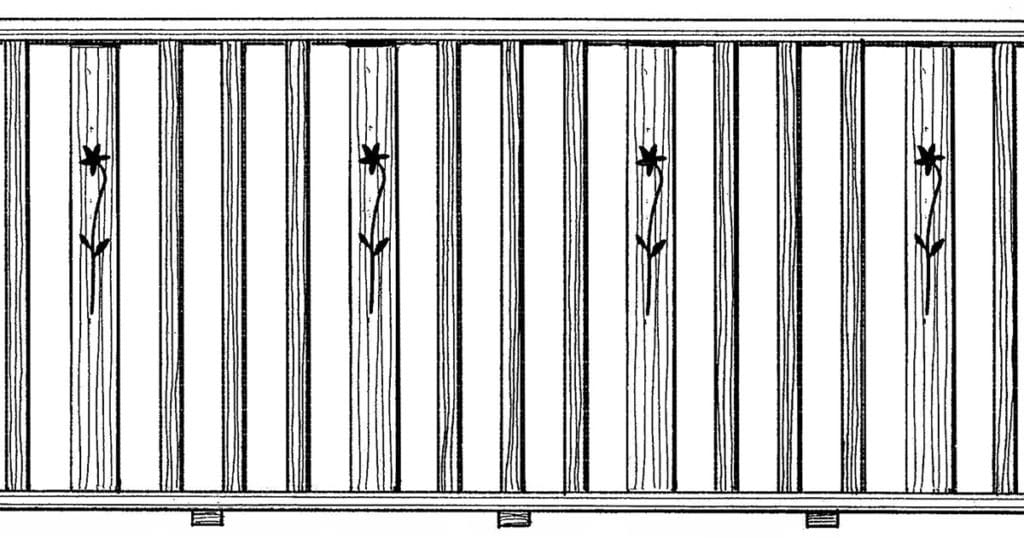
The total number of slats for this length is 18. - Determine how many motif slats you want in this length, eg. 4. That gives 14 plain slats. Lay the slats out in a pattern. For example:
I I O I I I O I I I O I I I O I I
This shows that you need only 13 plain slats. The total width of the slats is 4 x 90mm (motif slats) plus 13 x 43mm (plain slats) = 360 + 559 = 919mm. 2700 – 919 = 1781mm. This is the total length of the filler between the slats. 17 slats gives 18 spaces, at 98.9mm. Optimum slat spacing is between 95 and 105mm
Cut the 36 pieces of filler (top and bottom) at 99mm.
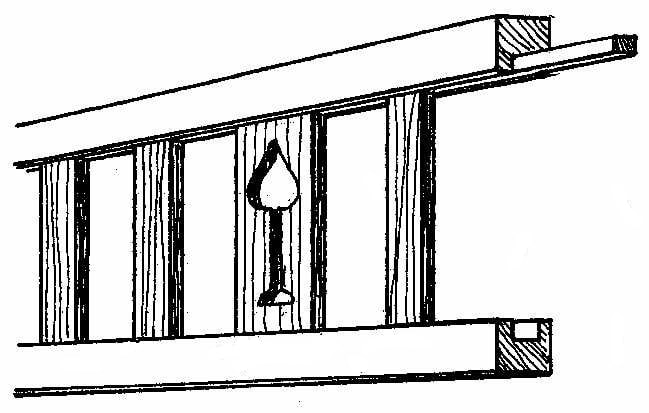
- Brush glue into the bottom trench (not too thickly!). Starting in the centre, fit the slats and filler in the trench. Be sure to keep the slats square to the rail. Let the glue set, but before it is set too rigid, start adding the top rail.
- Mark at one end of the top rail where the first slat is to be located. Brush glue into the top trench. Turn the bottom rail upside down and fit the first slat into its marked place. One by one, fit the other slats into the top rail. Verify that the shole assembly is square. Now fit the filler in the top rail, between the slats, with no gap between slat and filler.
- Frieze panels may be nailed in top and/or bottom with bullet head nails; putty the nail holes in the bottom rail. Top and bottom rails in baluster panels can be tied together until the glue has set completely.
- Cut off the excess length to fit the panel between the posts.
If you need any assistance during the assembly, please don’t hesitate to Contact Us.
About Lyrebird Enterprises
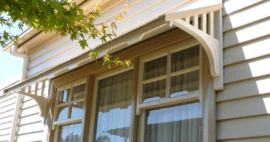
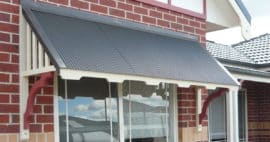
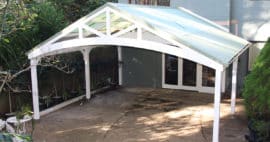
As experts in the manufacture of bullnose verandah rafters, curved beams and other curved rafters, door and window canopies /window awnings and a wide range of decorative timber verandah and garden products for over 35-years, Lyrebird Enterprises are well placed to assist you with your outdoor living project. We offer specialist reproduction, new design and manufacturing services for custom curved beam, small or large-scale building projects and provide an obligation-free initial consultation.
Visit our website – lyrebirdverandahart.com